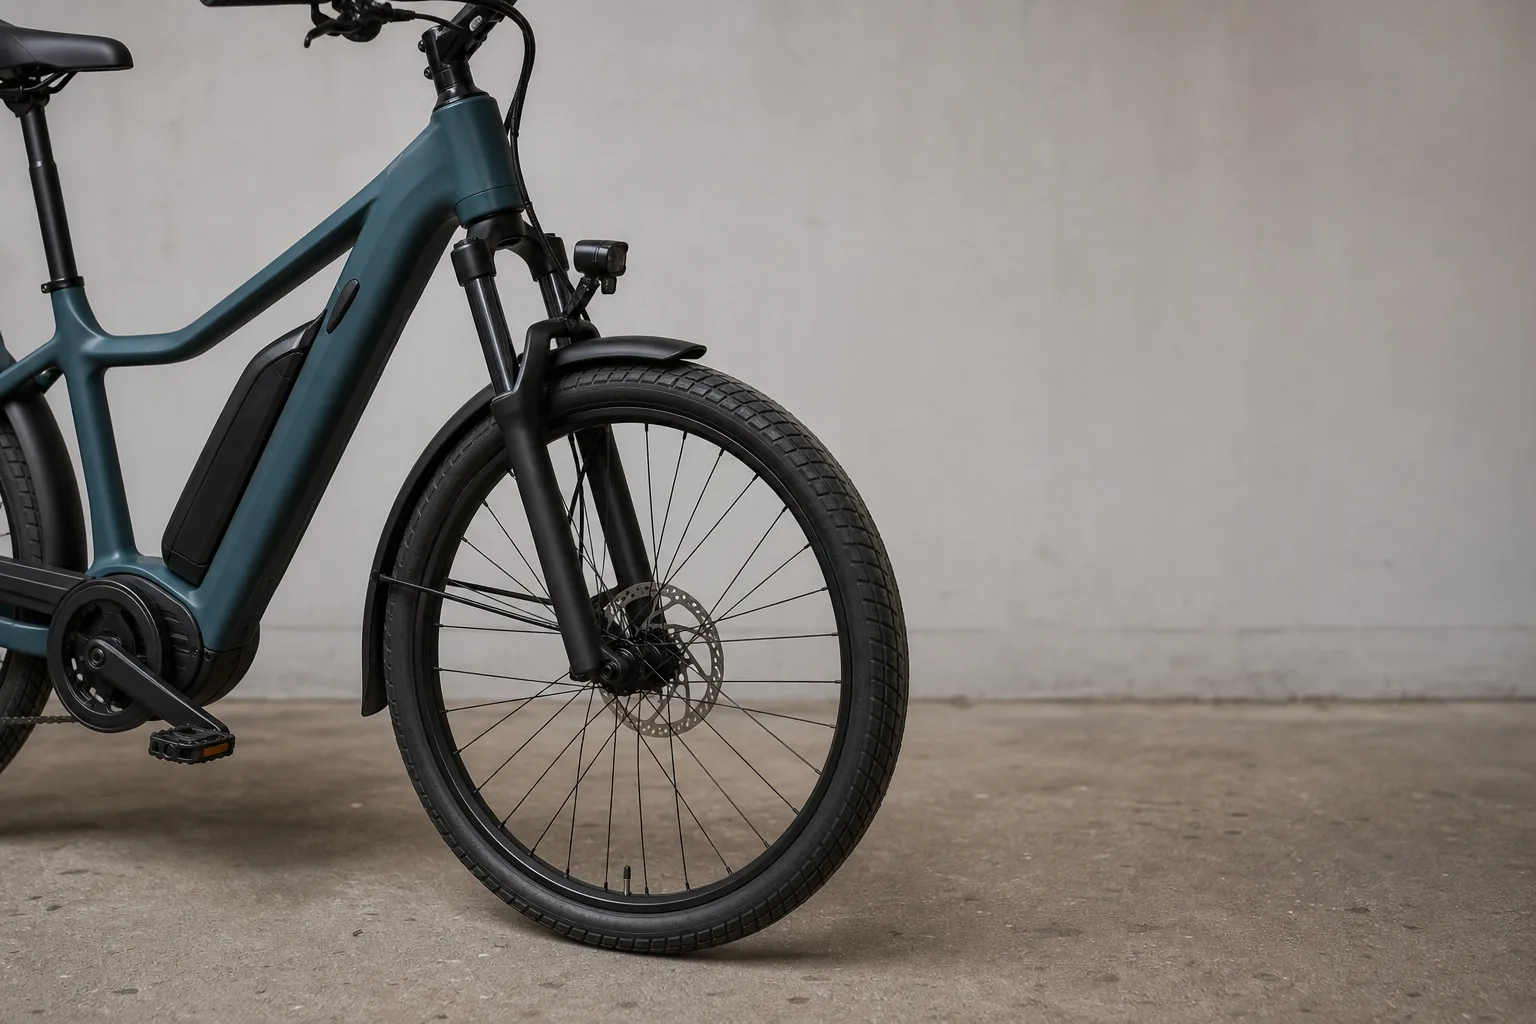
An electric bicycle weighs somewhere between two and three times what a comparable unpowered bike weighs, and every fit compromise you would tolerate on a fifteen-pound road frame becomes a daily negotiation on a sixty-pound one. The bike that does not quite fit does not usually get returned. It gets ridden less, then parked at the back of the garage, then sold at a loss two summers later. That is the real cost of a fit decision, and it is settled almost entirely by three measurements you can take with a tape measure, a level, and a wall.
Standover tells you about dismounts, not about riding
Standover height is the distance from the ground to the top tube at the point where you would straddle the bike, and its only job is to describe what happens when you stop. On a heavy bike with a load on the rear rack, stopping is the part that goes wrong. You want clearance, meaning your inseam measurement exceeds the standover figure by an inch or two on a step-over frame, because the moment you need it is the moment you are already off balance. A step-through frame removes the question by lowering the crossing point to a few inches above the bottom bracket, and that is a different kind of decision than simply buying a smaller size.
Step-through geometry costs something in frame stiffness, which manufacturers answer with larger-diameter tubing, additional bracing, or a doubled lower tube, all of which add weight. The trade is usually worth it for a commuter who stops at eight lights, carries a child seat, or rides in clothing that does not accommodate a high swing of the leg. What matters is that you know which problem you are solving. Standover clearance solves dismounts. It does nothing whatsoever about whether the bike is comfortable at mile nine.
Saddle height and reach are the pair that actually decides comfort
Saddle height comes from your inseam, and a workable starting point is inseam multiplied by roughly 0.88, measured from the center of the bottom bracket to the top of the saddle along the seat tube. Take the inseam properly: shoes off, back to a wall, a hardcover book pulled firmly up between your legs, and a mark at the top edge of the spine. Do it twice. Reach is the horizontal distance from the saddle to the grips once the saddle is at the height your legs require, and it is the number that gets ignored, because a bike can be short enough to stand over and still stretch you out across the top tube in a way that loads your wrists and shortens every ride you take.
The specification sheet gives you two figures that predict reach better than frame size does: effective top tube length and stack. Stack is the vertical height from the bottom bracket to the top of the head tube, and a taller stack lifts the bars toward you, which is why two bikes with identical top tube numbers can feel unrelated. Write down the effective top tube and stack for every bike on your list before you visit anything. That single sheet of paper will eliminate half the candidates without a ride.
A bike marketed to shorter riders is not automatically a bike that fits you
Marketing categories describe a target buyer, not a set of dimensions, and the assumptions inside them vary enormously between manufacturers. A category of womens ebikes typically means a step-through frame, a shorter reach, a wider and shorter saddle, and narrower grips, all of which may be exactly right for you or may combine a reach you need with a standover you do not. Proportions do not sort neatly by category. Two riders of the same height can differ by three inches in inseam, which moves saddle height and therefore effective reach by a meaningful amount. Read the geometry chart, not the label above it.
Bicycle safety requirements in the United States fall under the Consumer Product Safety Commission, which is responsible for the mechanical standards these frames are built to, but no standard defines what fits a given body. That part stays with you and with the tape measure.
What five minutes in a parking lot can and cannot tell you
A short loop is genuinely good at a few things. It will tell you whether you can get on and off without a wobble, whether you can put a foot down at a stop without sliding forward off the nose of the saddle, whether the brake levers reach your fingers, and whether the motor's power delivery startles you. Those are pass-or-fail findings, and a bike that fails any of them is finished as a candidate. Take the loop seriously, stop four or five times deliberately, and try one slow tight turn at walking pace with the motor off.
What five minutes cannot surface is everything cumulative. Hand numbness, saddle pressure, a reach that is an inch too long, and a saddle a half-inch too low all take twenty to forty minutes to announce themselves. So does the weight, which you notice not while riding but while lifting the front wheel over a curb or wheeling the bike backward out of a rack. Ask for a longer ride. If the answer is no, spend the extra time on the geometry chart instead, because that is where the same information lives in a form you can check at home.
Measure first, shortlist from the numbers, then ride the two or three bikes that survive. That order costs you an evening with a tape measure and saves you the much larger expense of owning a bike you do not want to take out.